Many first-time runners assume that blisters are the price
of finishing, and that stiff new shoes will soften up as the kilometres pass.
Neither is true. A friction blister forms when the layers of your skin shear
against each other again and again, so the goal is to stop your foot sliding
and rubbing in the first place. This guide shows you how to prevent running
blisters before Dubai Run 2026 with a few weeks of testing.
No routine can promise a blister-free run. What you can do
is lower the risk and spot rubbing early, while it is still easy to fix. Check
the official event page for the date and start time, and look again shortly
before the day.
First, a note for anyone with diabetes
If you have diabetes, please speak to your doctor or
podiatrist before you start training. Diabetes can damage nerves and reduce
feeling in the feet, and damaged blood vessels can slow healing, so a small
injury can develop without you noticing. If you find a new cut or blister,
contact your doctor or foot protection team straight away. The steps below are
not a substitute for that advice.
What you need before you begin
- Comfortable running shoes, tried on in the afternoon or after
activity
- Moisture-wicking socks in the right size, plus a spare dry
pair
- One protective option that you have already tested, such
as a soft bandage, adhesive moleskin, a blister plaster or petroleum jelly
- A few weeks of short outings before the event
Steps 1 to 3: Build a shoe and sock combination that fits
1. Check your shoe fit
Running shoes should feel comfortable straight away. If they
pinch or squeeze in the shop, do not assume they will improve with wear. Try
them on in the afternoon or after exercise, because feet swell during activity,
and stand up when you check the fit.
Leave about 1.3 cm (half an inch) between your longest toe
and the end of the shoe, with enough width to wiggle your toes. If one foot is
longer or wider, fit the shoe to that foot. Make sure the heel feels held
rather than loose.
A common mistake is going up a size "just in
case". Extra room lets the foot slide, and sliding is exactly what leads
to blisters.
2. Check the socks inside those shoes
Wear the same socks you plan to run in when you test the
shoes, because a thick sock can turn a good fit into a tight one. Choose nylon
or other moisture-wicking socks in the correct size. Wrinkled socks and heavy
sweat can both contribute to blisters, so a sock that bunches at the heel or
toes is a warning sign.
What about two pairs? Some runners try it, but test it
first. If two pairs make your shoes feel tight, drop the idea.
3. Trial the whole combination on short outings
Wear the exact shoes, socks and lacing on short walks or
easy runs, then lengthen them gradually. Testing means checking that the setup
stays comfortable. It does not mean running through pain until your feet give
in.
A comfortable short run does not guarantee a comfortable 10
km, because arches and heels often complain late. Build the distance up rather
than jumping to it.
Steps 4 and 5: Find the rubbing and protect it
4. Identify your recurring rubbing areas
After each trial, take off your shoes and look. Hot spots
are patches that feel warm, tender or slightly red, and they are the places a
blister would choose next. Note whether they are on the heel, the arch, the
toes or the sides of the feet.
If the same spot appears every time, change one thing at a
time. A heel hot spot may mean the heel is not held firmly, so try a different
lacing. Toes that feel crowded may need a roomier shoe or a thinner sock.
Changing everything at once leaves you guessing which change helped.
If one spot keeps blistering despite a good fit and good
socks, see a podiatrist. Our article on the benefits of visiting a podiatrist in Dubai explains what an appointment can
offer. If thick, hard skin is the thing rubbing, this guide to corns and calluses is a useful read.
5. Test your friction protection
Securely applied soft bandages or adhesive moleskin over
areas that tend to rub are common choices, and petroleum jelly is another
option. Evidence for many blister products is mixed, so the only proof that
matters is how your own feet feel on a trial.
Pick one method per spot, and follow the instructions on
whatever you use:
- Do not mix cream and plaster. Blister plasters need clean,
dry skin free from creams and oils, so never put petroleum jelly under one.
- Do not cut a plaster. Cutting weakens the grip, so choose
a size that fits.
- Do not reuse one. Blister plasters are single use, so
replace a plaster that falls off.
- Leave it alone. Keep it on until it starts to lift at the
edges, then remove it by slowly stretching it along the skin.
If a trial leaves the skin irritated or sore under the
dressing, change the product or the spot, then test again. People with diabetes
should check with a healthcare professional before using blister plasters.
Step 6: Repeat the winning setup on event morning
If the start is early, you may be dressing in a hurry, so
lay everything out the night before. Wear the shoes, socks, lacing and
protection that worked in your trials, and nothing new. A fresh pair of socks
or a different product on the day is exactly the untested change that causes
trouble. Pack your spare dry socks and your tested dressing in your bag.
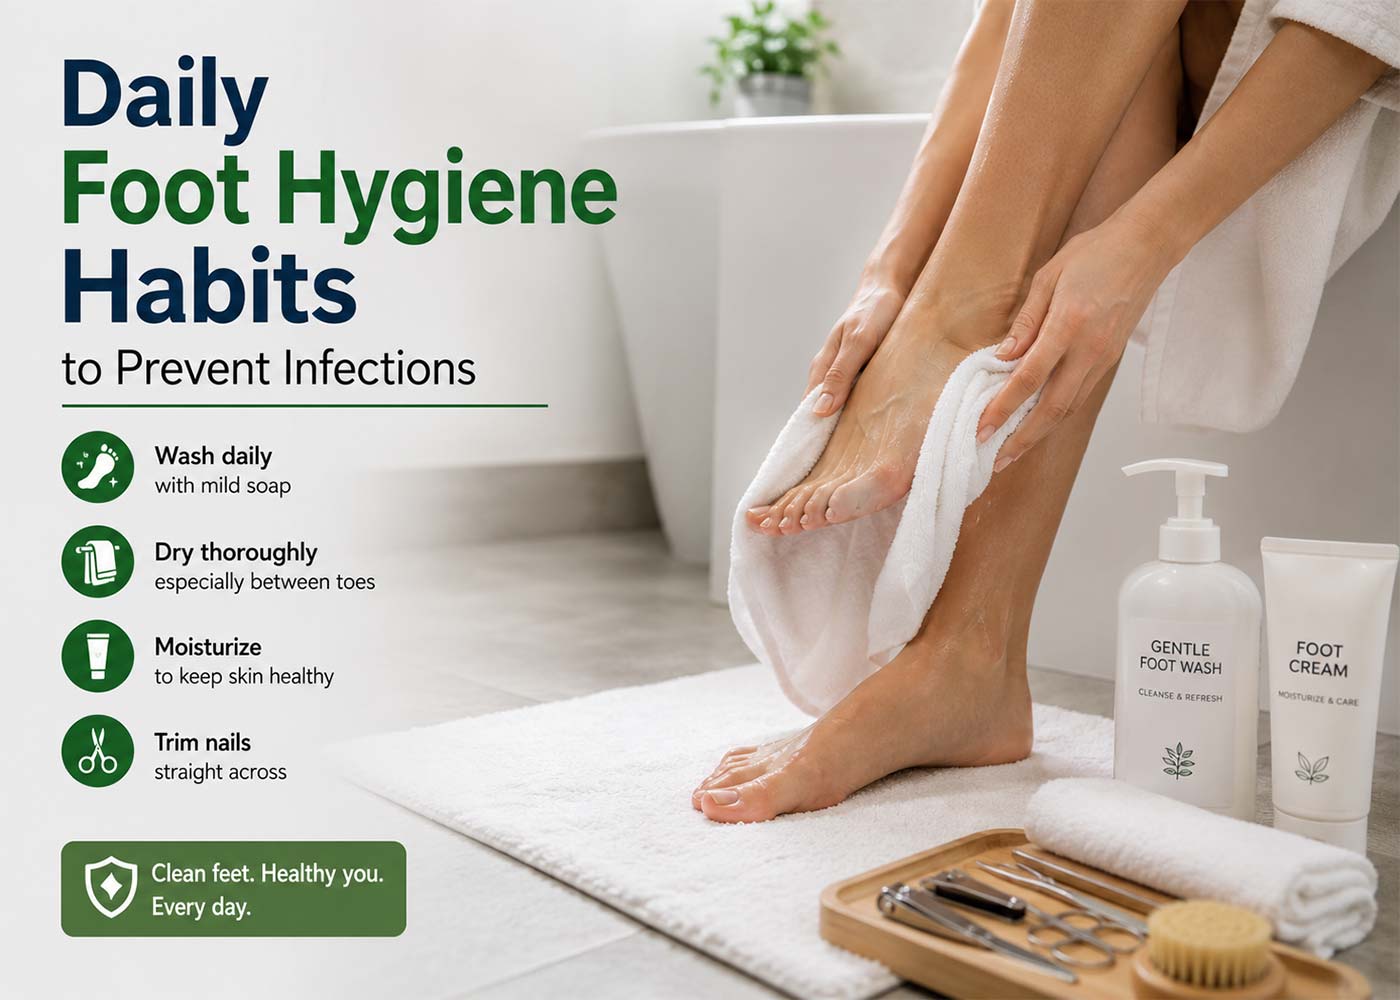
Our daily foot hygiene habits cover the basics of everyday foot care.
Steps 7 and 8: When rubbing starts, and after the finish
7. Stop and inspect as soon as you feel rubbing
Warmth, a hot spot or a sting is your signal. Stop at once
when pain, discomfort or redness appears.
Look at the skin. If there is no blister yet, cushion the
area and check that your sock is smooth. If the rubbing returns, or the pain
builds, stop for the day. A dressing makes the foot more comfortable, but it
does not prove that carrying on is safe.
If a blister has already formed, leave it unpopped and do
not peel the skin. Cover it loosely with a bandage that has a slightly raised
centre, and on a pressure area use doughnut-shaped padding around it. If it
bursts on its own, wash your hands, gently clean the area, let the fluid drain,
keep the skin in place and apply a dressing. A pharmacist can advise on dressings
such as hydrocolloid ones. Wait until the blister has healed before running
again.
Large or very painful blisters, or ones that keep coming
back, need medical help rather than home drainage.
8. Check your skin after the run
Take off your shoes and socks soon after you finish and look
at both feet, including between the toes and around the heels. Seek urgent
medical advice if a blister feels hot, has green or yellow pus, or the skin
around it is red. Redness can be harder to see on brown or black skin, so also
notice heat and swelling. Contact a local doctor, podiatrist or urgent medical
service. A salon or an antiseptic product is not the right answer for a
suspected infection.
How to tell if your setup worked
Run through this quick check after your final trial and
again after the event:
1. Did your shoes feel comfortable from the first step to
the last?
2. Were your socks smooth, dry and unwrinkled?
3. Is your skin free from redness, tender spots and
blisters, including between the toes?
4. Did any protection stay in place without causing
irritation?
If you answered yes to all four, your setup is in good
shape. Distance, heat and sweat can still change how your feet behave, so keep
the stop-and-inspect habit on the day.
Professional Foot & Nail Care in Dubai and Abu Dhabi
Book cosmetic podology care in a clean, private and relaxing salon environment.